
Many people spend weeks with their monitor perched on two old textbooks and a phone book, convinced it’s fine. Their necks disagree. By 3 PM every day, many users find themselves rolling their shoulders and tilting their head back to see the top of the screen — the opposite of what the cervical spine wants. The fix takes about ten minutes and costs nothing. This guide covers exactly how to diagnose a low monitor, the cheap fixes that work, and the measurements that actually matter. If the screen height is only one of several problems, our monitor screen setup guide works through the rest.
Quick Answer
Measure before buying anything: the top of the screen should sit at or just below eye level when you sit back in your chair. If it sits low, stack books for a free fix, add a monitor riser ($15-40), or use a monitor arm ($40-100) when you need precise height control. On a laptop, raise the screen and add an external keyboard.
How to Raise a Low Monitor: Options Compared
| Fix | Best For | Typical Cost |
|---|---|---|
| Stack books or a ream of paper | A free, immediate fix while you measure | Free |
| Monitor riser | Desks where a fixed lift is enough | $15–40 |
| Monitor arm | Precise height and tilt control | $40–100 |
| Laptop: raise the screen + external keyboard | Keeping hands low when the screen is lifted | Varies |
Why a Low Monitor Wrecks Your Neck
Your head weighs roughly 4.5 to 5.5 kg (10-12 lb) on its own. When you look straight ahead with good posture, your neck muscles hold that weight with minimal effort. Drop your gaze 30 degrees and those same muscles take on roughly double the load. Slouch your shoulders forward and it gets worse. That’s the whole problem: a monitor that sits too low doesn’t just feel annoying, it converts a light job into a heavy one, hour after hour.
You don’t need to feel pain to be doing damage. A dull ache at the base of the skull, tension headaches that start mid-afternoon, or a knot between your shoulder blades are all early signals. The good news: monitor height is one of the cheapest, fastest things to fix in any home office.
First, Measure Your Current Setup
Before you buy anything, do this 60-second check. Sit in your normal chair with your back against the backrest, feet flat, shoulders relaxed. Close your eyes, then open them and look straight ahead. Your natural line of sight should hit the top third of your screen, roughly 2-5 cm (1-2 in) below your eye level. If you’re looking down at the middle of the screen, your monitor is too low.
Two other numbers worth checking. Viewing distance should be about an arm’s length: 50-70 cm (20-28 in) from your eyes to the screen. And the screen should tilt back 10-20 degrees so the top edge sits slightly farther from you than the bottom. If you’re leaning forward to read, fix distance before you fix height.
Fix 1: Raise It With What You Already Own (Free)
The zero-cost fix is stacking. Hardback books, reams of printer paper, a shoebox filled with cables, anything flat and stable. The trick is doing it in increments. Raise the monitor 5 cm (2 in), sit back, and check. Raise it again, check again. Most people undershoot on the first try because they’re used to craning down.
One warning: this only works if your desk is otherwise at the right height. If your desk is too low and your keyboard sits at elbow level only because you’re slouching, raising the monitor alone won’t save you. Fix the chair first, then the monitor.
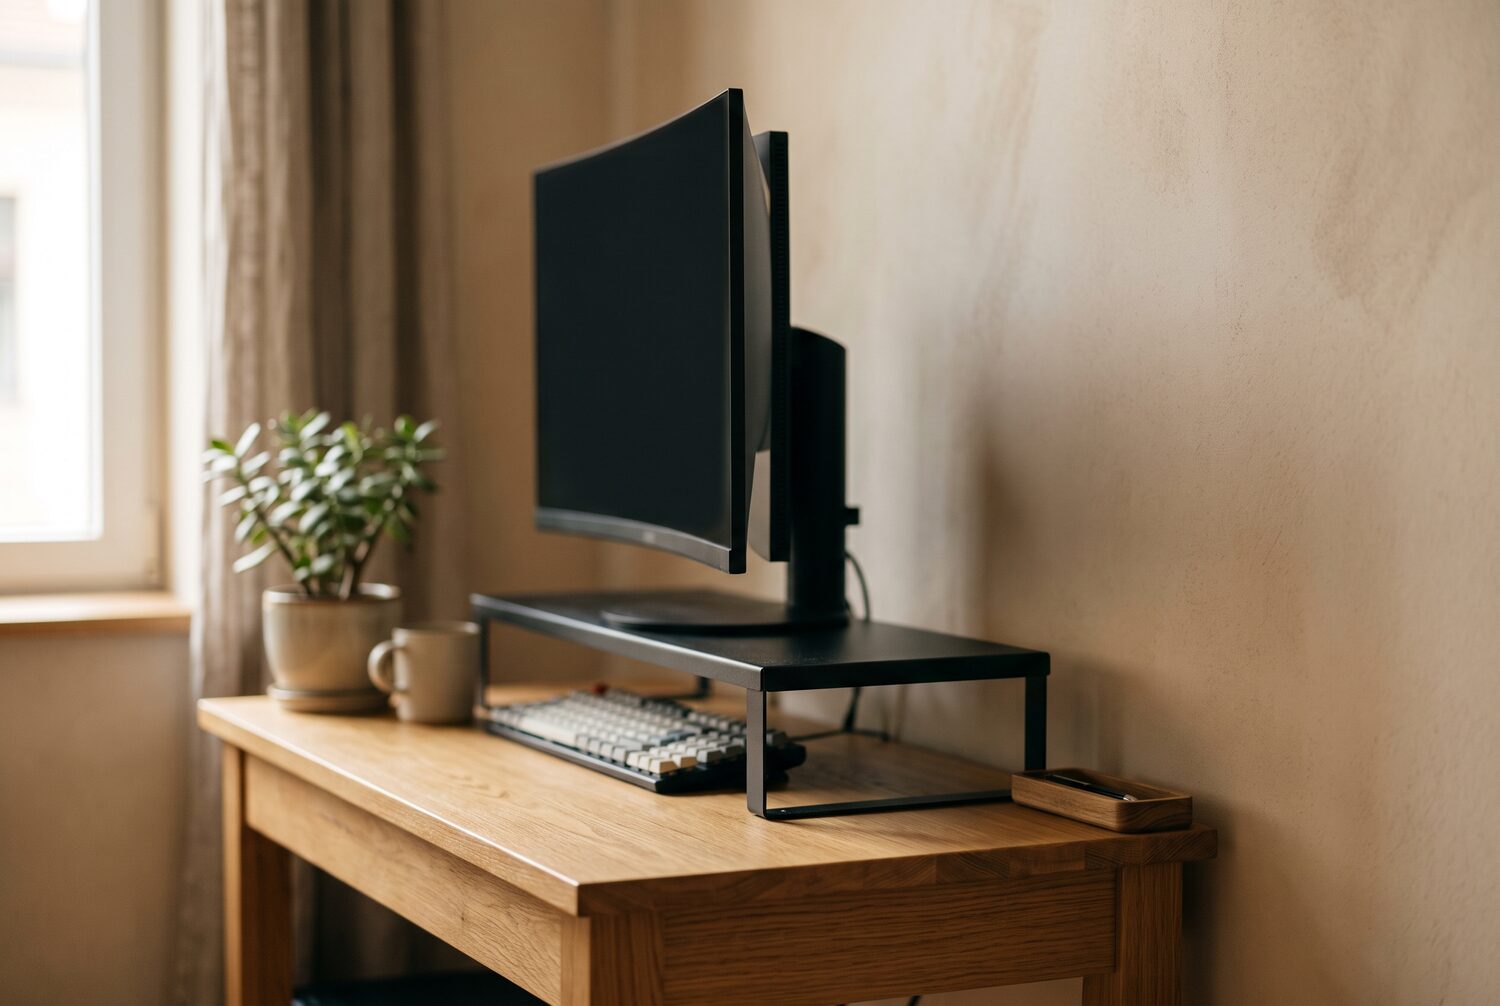
Fix 2: A Monitor Riser ($15-40)
Once you know how much height you need, a riser is the cleanest solution. Look for one that raises your screen 8-15 cm (3-6 in), which covers most desks and most people. Solid wood or bamboo risers in the $25-40 range hold a 27-inch monitor without flexing; cheap hollow MDF ones around $15 work but can sag in the middle over a year or two.
Two features are worth paying for. A raised lip or non-slip pad on top keeps the monitor from sliding, and a gap underneath big enough for your keyboard (most are 45-60 cm / 18-24 in wide) turns the riser into a two-tier setup: monitor up top, keyboard below. That single change fixes both monitor height and wrist angle at once.
Fix 3: A Monitor Arm ($40-100)
A monitor arm is the upgrade path if your desk is adjustable or you switch between sitting and standing. Gas-spring arms in the $50-80 range let you change height with one hand and hold position without drooping. Cheaper $30-40 arms use fixed tension and usually need a screwdriver to adjust, which means you’ll actually adjust them less often.
Before buying, check two things. Your monitor’s VESA pattern (most are 100×100 mm, printed in the manual or on the back) and your desk’s edge thickness, since clamp mounts top out around 5-8 cm (2-3 in). If your desk has a lip or a drawer underneath, a clamp won’t fit and you’ll need a grommet mount instead.
Fix 4: If You’re on a Laptop
A laptop screen sits roughly 15-20 cm (6-8 in) lower than a desktop monitor on the same desk, which is exactly the range where neck pain starts. Raising the laptop alone creates a new problem: now you’re typing with your arms at shoulder height. The correct move is a laptop stand plus a separate keyboard and mouse. A basic aluminum stand that folds flat costs $20-30, an external keyboard another $25-40, and together they fix the posture problem an expensive laptop created.
If you only have room in the budget for one thing, buy the stand first. Typing with raised arms is uncomfortable, but it’s less damaging than staring down at a screen for eight hours. Then add the keyboard when you can.
A Quick Checklist for the Whole Setup
- Top third of the screen at or 2-5 cm below eye level
- Screen 50-70 cm from your eyes (arm’s length)
- Screen tilted back 10-20 degrees
- Keyboard at elbow height, wrists straight
- Feet flat on the floor or on a footrest, knees at ~90 degrees
- Forehead, not chin, leading when you look at the screen
Run through that list every time you change desks, chairs, or move apartments. When your desk sits in a 10 m2 apartment bedroom and the bed doubles as a chair for video calls, the setup drifts back to bad within a week. Re-checking takes two minutes.
When to See a Doctor
Raising your monitor fixes posture-related strain, not everything. If you have numbness or tingling in your arms or fingers, sharp pain that radiates from the neck, or headaches that started suddenly, stop self-diagnosing and see a professional. The same goes for pain that persists after two weeks of corrected setup. A physiotherapist can tell you whether the problem is the monitor or something else entirely.
Some links in this article are affiliate links. If you buy through them, we may earn a small commission at no extra cost to you. It helps keep this site running.
Shop These Picks on Amazon
Ready to compare prices? These links open Amazon listings for the specific products covered in this guide, so you can check current models and prices yourself. If you buy through them, we may earn a small commission at no extra cost to you — it helps keep RemoteErgoLab free.
- TEAMIX 20 Inch Wood Monitor Stand Riser — Check current price on Amazon
- Ergotron LX Monitor Arm — Check current price on Amazon
- Nulaxy Adjustable Laptop Stand — Check current price on Amazon
- Rain Design mStand Laptop Stand — Check current price on Amazon
Related Guides
- Desk Too High? Ergonomic Fixes for Remote Workers
- Best Laptop Stands for Neck Pain
- The Complete Ergonomic Home Office Setup Guide
- Ergonomic Keyboards for Small Desks: 5 Compact Picks
- Standing Desk Types for Small Spaces: 4 Compared
Disclosure
As an Amazon Associate we earn from qualifying purchases.